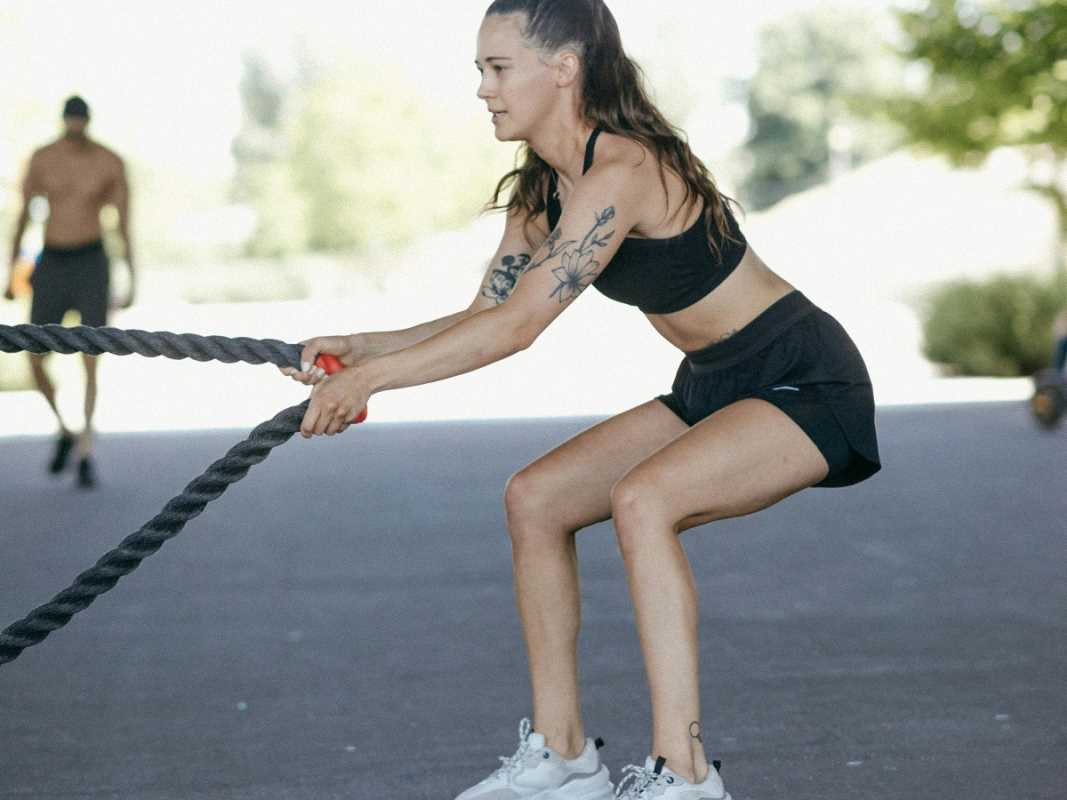
Simple yet powerful, resistance bands offer an effective way to exercise every major muscle group without the need for bulky equipment. These flexible bands create tension as you stretch them, then gently return to their original shape, allowing for smooth, controlled movements that challenge your muscles. You can easily adapt resistance bands for a wide range of exercises, from squats and lunges to chest presses and rows. Their lightweight design makes them perfect for at-home workouts or taking on the go, so you never have to miss a session. Whether you aim to build strength or improve flexibility, resistance bands provide a versatile solution.
Once you learn how to pick, set up, and use them with good form, resistance bands become your go-to for strength gains and muscle tone. Let’s dive into the essentials so you can start feeling stronger without leaving home.
How to choose the right resistance bands
Selecting bands that match your strength and workout goals makes all the difference. brands like TheraBand and FitTube offer kits with color-coded tensions. Here’s a simple way to understand your options:
- Band Types
- Loop Bands: Ideal for lower-body moves like squats and lateral walks.
- Tube Bands with Handles: Suitable for chest presses, rows, and overhead presses.
- Therapy Bands: Flat, non-loop bands used for rehab exercises and light resistance.
- Resistance Levels
- Light (Yellow/Red): Perfect for beginners or recovery routines.
- Medium (Green/Blue): Suitable for general strength-building.
- Heavy (Black/Purple): Made for advanced users and muscle building.
Match the tension of your bands to your current strength. Start with light or medium, then increase when sets of 12 reps become too easy. Always test the tension by performing one rep before doing a full routine.
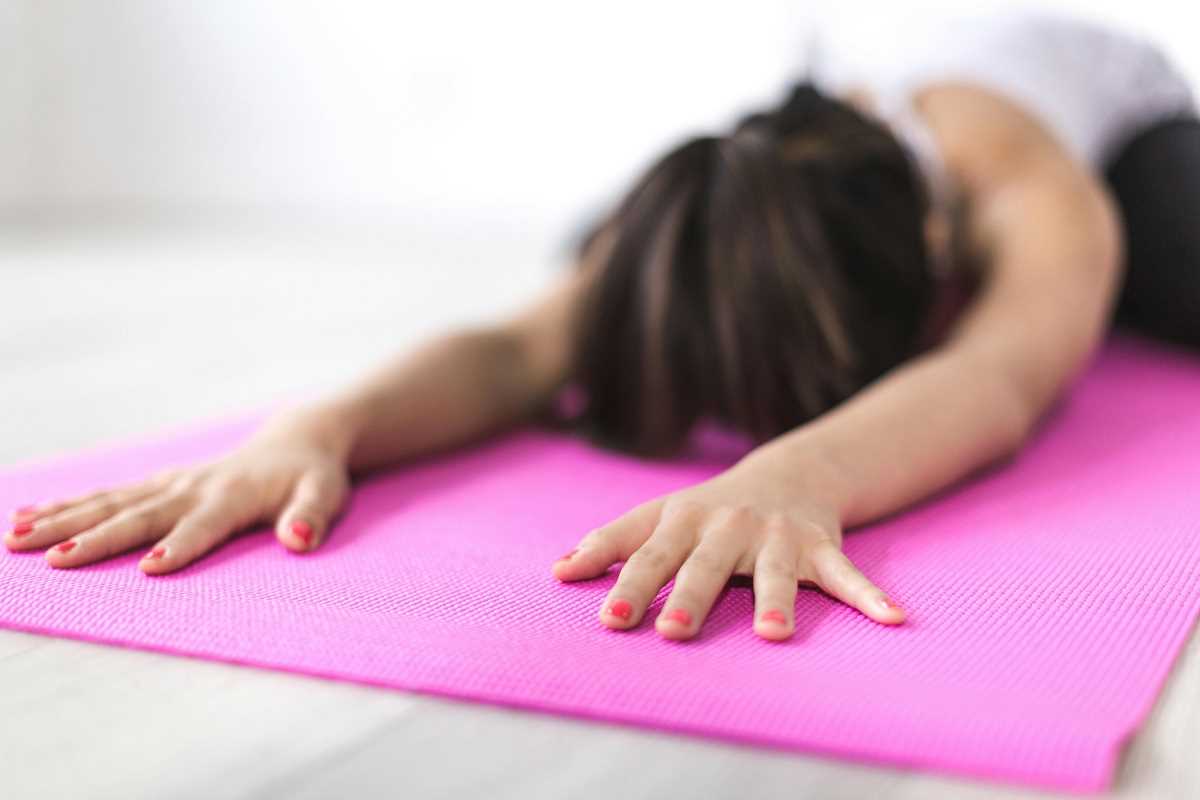
How to set up your workout space
All you need is a few square feet and a sturdy anchor. Clear clutter so you can move freely and avoid tripping over objects. A non-slip mat under your feet adds stability.
- Equipment Check
- Resistance bands with secure handles or attachments
- Door anchor or heavy piece of furniture
- Exercise mat or yoga mat for comfort
- Safety Checks
- Inspect bands for nicks or tears before each session
- Secure the door anchor at a sturdy hinge side, not just the doorknob
- Test each anchor point with mild tension before full stretch
Positioning yourself near a full-length mirror helps you monitor your form and alignment. Good lighting and fresh air keep your energy high, and playing upbeat music can make your workouts more enjoyable.
Full-Body Resistance Band Exercises
To work all muscle groups, follow this circuit style: do each move for 10–15 reps, rest for 30 seconds, then move on. Aim for two to three rounds.
- Lower Body: Squat to Row
- Stand on the band with feet shoulder-width apart, handles in your hands.
- Squat down, keep your chest up, hips back.
- As you stand, pull handles toward your rib cage, squeezing your shoulder blades.
- Back and Biceps: Seated Row
- Sit on the floor with your legs extended and loop the band around your feet.
- Hold the handles, keep your back straight, and pull toward your torso.
- Pause and control the movement as you return to the start position.
- Chest and Triceps: Band Push-Up
- Wrap the band across your upper back and hold the ends under your hands.
- Perform a push-up, feeling extra tension at the top.
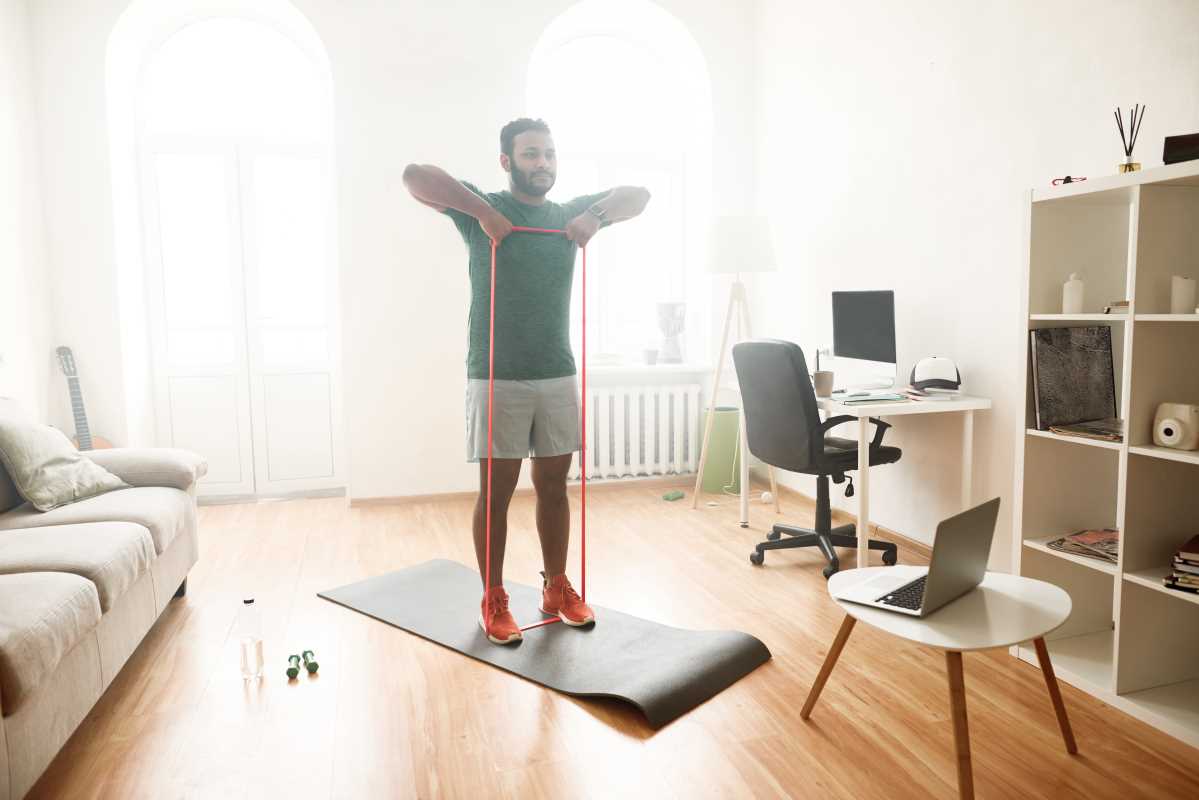
- Shoulders: Overhead Press
- Stand on the band, grip handles at shoulder height.
- Press overhead, keeping your core engaged.
- Lower slowly back to the start position.
- Core: Pallof Press
- Attach the band at chest height to a door anchor.
- Stand with your side facing the anchor, hold the handle with both hands.
- Press the handle away from your chest, resisting rotation.
Maintain steady breathing and focus on activating your muscles. Check your form in the mirror: avoid rounded shoulders and collapsing lower back.
Adding progressions and variations
Change the tension, adjust your angles, or vary your tempo to challenge yourself. Beginners can slow down reps and use lighter bands. If you finish 15 reps easily, try these modifications:
- Increase Resistance: Switch to a heavier band or double up two bands.
- Alter Range of Motion: Pause at the hardest point or hold an isometric position.
- Change Tempo: Lower the band slowly over three counts, lift in one count to increase time under tension.
- Unilateral Moves: Perform one arm or one leg at a time to test your balance and core strength.
More advanced users can combine exercises, such as lunging while curling a bicep or holding a plank while rowing with a band. Performing exercises in circuits keeps your heart rate elevated while sculpting your muscles.
Common mistakes and how to prevent them
Engaging your core and keeping your joints aligned helps prevent injuries. Avoid letting your shoulders rise toward your ears or your hips sag. Practice slowly at first to develop awareness of your movements.
Watch out for these common errors and avoid them:
- Overstretching: Bands can snap if you exceed their limit, so select a band that provides tension at the top of each rep, not at the start.
- Using Bands Alone: Combine resistance bands with bodyweight or free weights to target muscles through different resistance patterns.
- Skipping Recovery: Allow your muscles 48 hours to recover before training them again.
- Forgetting Warm-Ups: Perform a quick dynamic warm-up to prepare your joints and muscles for exercise.
Adjusting angles, tension, and tempo makes resistance bands suitable for every fitness level. Consistent progress through mindful modifications helps you see results faster than random workouts.
Resistance bands allow you to perform effective strength training anywhere. Use proper form and stay consistent to see your strength improve over time.