 (Image via
Smart technology can enhance even the smallest city apartments, creating a comfortable and efficient living space. Many people want features such as a smart thermostat, motion-activated lighting, and convenient voice controls, but worry about clutter from extra devices and tangled wires. With thoughtful planning and the right tools, you can easily integrate modern tech into your home without sacrificing valuable space. This guide highlights eight practical upgrades that help you streamline your living area, boost everyday convenience, and create a more inviting atmosphere—proving that a compact apartment can feel both spacious and welcoming.
We’ll avoid generic tips you’ve heard a dozen times. Instead, expect vivid scenarios where tech truly shines—like adjusting your thermostat while boiling pasta or waking up to lights that gently follow your sunrise ritual. Ready to squeeze big comfort into a tiny footprint? Let’s dive in.
Maximize Every Square Inch
You don’t need fewer possessions; you need smarter solutions. Imagine a nesting shelf that folds away when not in use or speakers that double as art pieces. Picture a voice-controlled lamp that magnetically attaches to metal frames, freeing up desk space instantly.
By optimizing both vertical and horizontal zones, you create a living environment that feels open and organized. These insights help you spot wasted corners and convert them into functional hubs without sacrificing style.
- Convert unused wall-mounted panels into a smart sensor hub. It frees floor space, detects temperature shifts, and triggers your HVAC. Installation only requires four screws and 10 minutes, with device kits under $50. Insider tip: position the sensor at shoulder height to avoid false readings near vents or windows.
- Transform sliding closet doors into touch-activated ambient light sources. This upgrade brightens storage areas, reduces fumbling in dim cabinets, and adds a design flourish. You’ll need adhesive LED strips (about $20), a 5-minute peel-and-stick process, and a plug-in smart controller. Insider tip: use colored tape to mark the optimal strip placement before peeling.
- Repurpose a corner shelf as a discreet router and device dock. Elevating your router improves signal spread, clears desk clutter, and hides cables. A ready-made shelf costs roughly $30, mounts in under 15 minutes, and supports devices up to 10 pounds. Insider tip: route cables through a secret duct behind the shelf to keep wires out of sight.
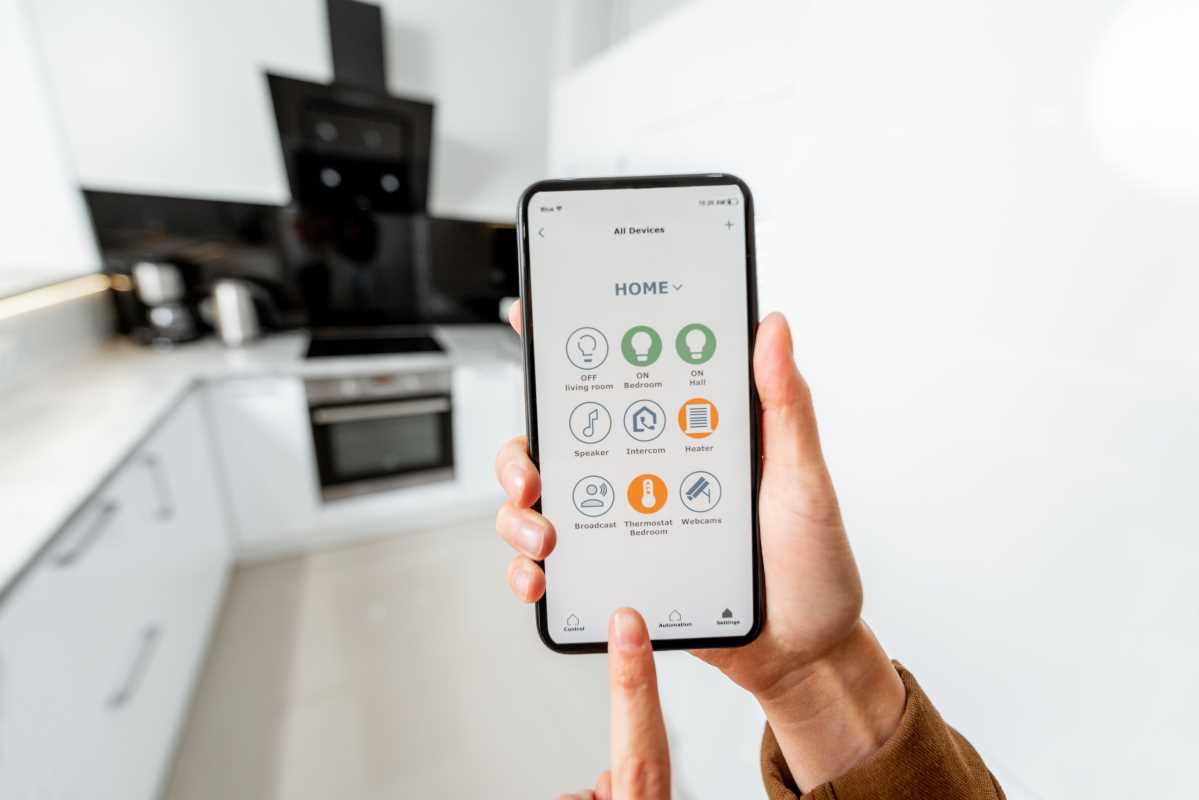
Eight Clever Upgrades for Urban Smart Homes
- Smart Lighting Controller for Entryways
- Purpose: Automates hallway lights via motion detection.
- Setup: Mount two motion sensors at opposite ends, sync through the hub’s app, and schedule dusk-to-dawn activity.
- Cost: ~$60; plugs into any standard outlet.
- Pro tip: Angle the lower sensor toward shoe racks to detect even subtle steps in socks.
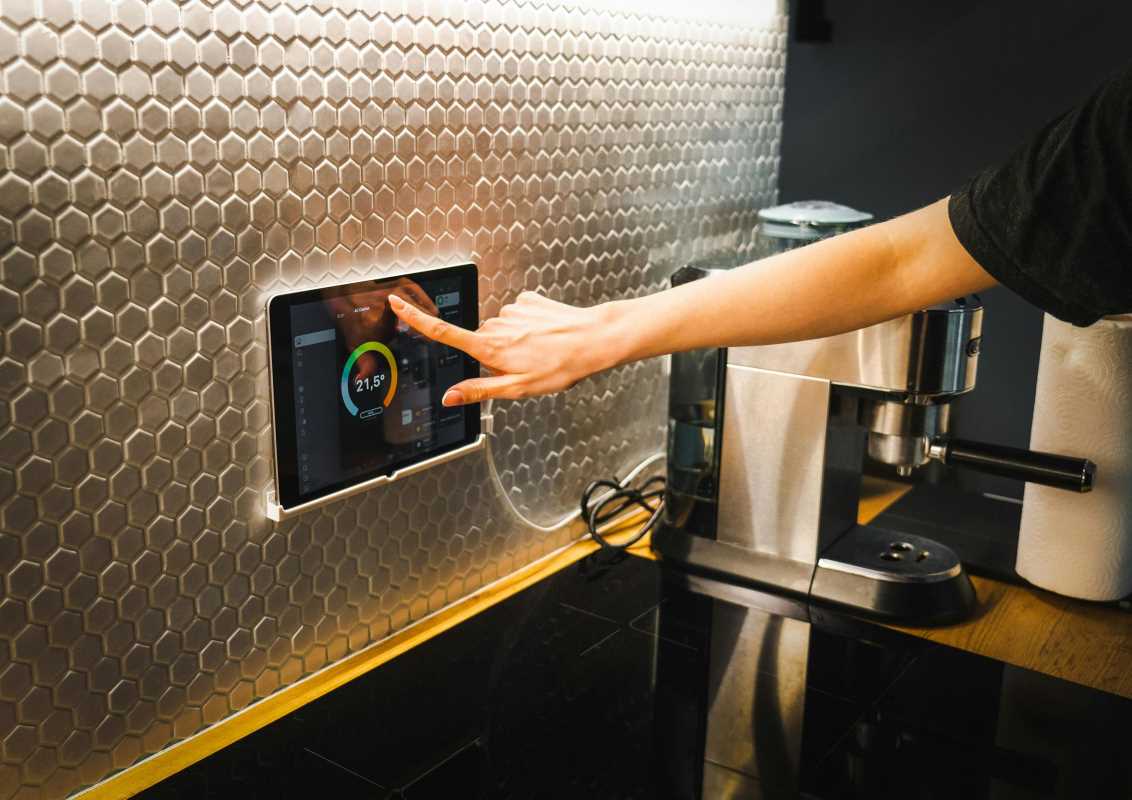
- Voice-Activated Thermostat Insert
- Purpose: Enables voice control and remote adjustments without replacing the entire thermostat.
- Setup: Power down, remove the old plate, snap in the new insert, restore power, and connect to Wi-Fi and a voice assistant.
- Cost: ~$75.
- Insider tip: Enable gradual overnight cooling to stay comfortable without sudden chills.
- Modular Smart Plugs by Zone
- Purpose: Group outlets into zones for coordinated device control.
- Setup: Plug in, sync with the network, and label zones (e.g., kitchen, workspace, living room).
- Cost: ~$15 per plug.
- Insider tip: Hide extension cords behind furniture to avoid tangles and unplug accidents.
- Compact Motorized Blinds
- Purpose: Automates blind adjustments based on light, time, or voice command.
- Setup: Attach motor to rolling blinds, sync to hub, and define opening/closing curves in app.
- Cost: ~$90 per kit.
- Insider tip: Manually calibrate blind limits before syncing to prevent frame jams.
- Under-Cabinet Climate Sensor Strips
- Purpose: Detect humidity/temperature changes from cooking and trigger smart fans/dehumidifiers.
- Setup: Stick strips under cabinets; link to devices via app; set thresholds.
- Cost: ~$40 for a two-pack.
- Insider tip: Mount 2 inches from backsplash to avoid false readings from steam.
- Smart Leak Detectors
- Purpose: Monitors for water leaks near sinks, washers, or radiators.
- Setup: Place detectors on the floor, sync to hub, and configure alerts.
- Cost: ~$30 each.
- Pro tip: Position one under each appliance most prone to leaks—especially washing machines.
- Wi-Fi Mesh Repeaters with Smart Routing
- Purpose: Keeps all smart devices connected without signal drops.
- Setup: Plug repeaters in central outlets; app auto-maps coverage.
- Cost: ~$120 for a starter kit.
- Insider tip: Place repeaters halfway between router and device clusters for balanced signal spread.
- Smart Entry Lock with Temporary Codes
- Purpose: Adds keyless, app-controlled door access.
- Setup: Replace existing deadbolt with the smart lock module; connect to Wi-Fi or Bluetooth.
- Cost: ~$150.
- Insider tip: Generate single-use codes for deliveries or guests to avoid sharing your main access credentials.
Integrate Tech Without Cluttering Your Space
Even the coolest gadgets lose their charm if your room looks messier than before. Thoughtful placement and cable management hold the key to a polished, high-tech aesthetic.
Follow these steps to blend devices seamlessly into your decor:
- Survey each wall for potential hiding spots: behind picture frames, above cabinets, or inside door jambs. Don’t forget the top shelf—small devices can go unnoticed up high.
- Bundle power cords using slim cable channels painted to match your walls. Run them vertically to guide the eye upward, making ceilings feel taller.
- Use adhesive cable clips for audio and data wires along baseboards. Clip every 12 inches to avoid sagging lines that create a cluttered look.
- Install a central hub inside a decorative box or drawer. This conceals network gear, smart home controllers, and USB chargers in plain sight.
- Regularly evaluate your devices once a month. Remove any power hogs or redundant gadgets to keep your system efficient and your space uncluttered.
Automation That Saves Energy and Supports Sustainability
Automating your routines can also cut down your energy bills and reduce your carbon footprint. Lights that dim when you leave a room, a thermostat that learns your habits, and blinds that follow the sun to cut cooling costs all help you save energy.
By monitoring energy use in real time and setting efficient schedules, you’ll see your savings grow while enjoying the convenience of automated comfort.
These upgrades make your small urban home feel spacious and smart. Begin today to create a high-functioning, tech-savvy retreat.